DIY Hydroponics Growing System: Build Your Own Sustainable Garden at Home
The Benefits of Hydroponics
Water Efficiency: Hydroponics uses up to 90% less water than conventional gardening, making it an eco-friendly option.
Space-Saving: Ideal for urban settings, hydroponic systems can be set up in compact spaces.
Disease Resistance: Eliminates the risk of soil-borne pests and diseases, ensuring healthier plants.
Year-Round Gardening: With the right setup, you can grow fresh produce regardless of the season.
Hydroponics comes in various forms, each suited to different needs and levels of expertise:
- Wick System: A beginner-friendly system where nutrient solutions are absorbed by wicks into the growing medium.
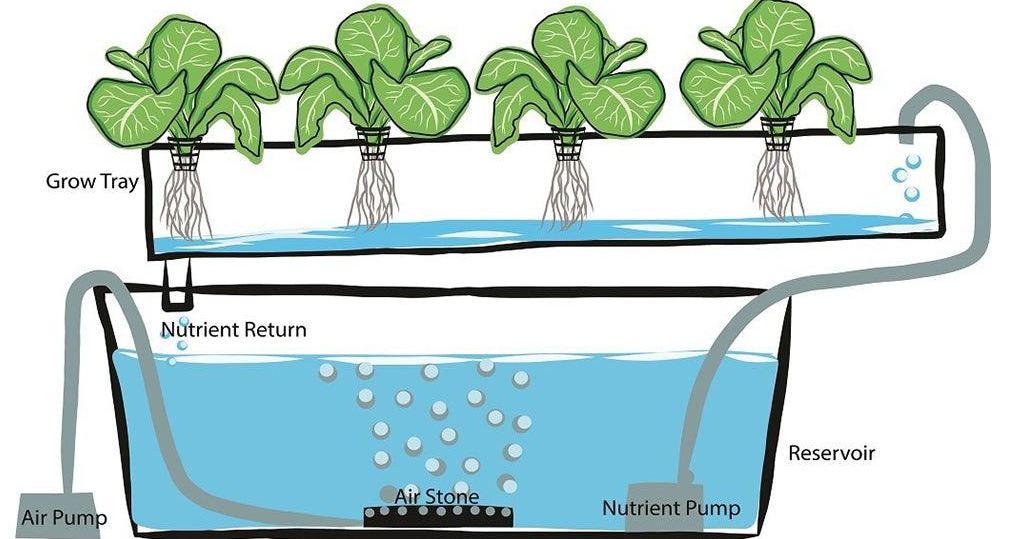
- Deep Water Culture (DWC): Plants are suspended in a nutrient solution, with oxygen provided by an air stone.
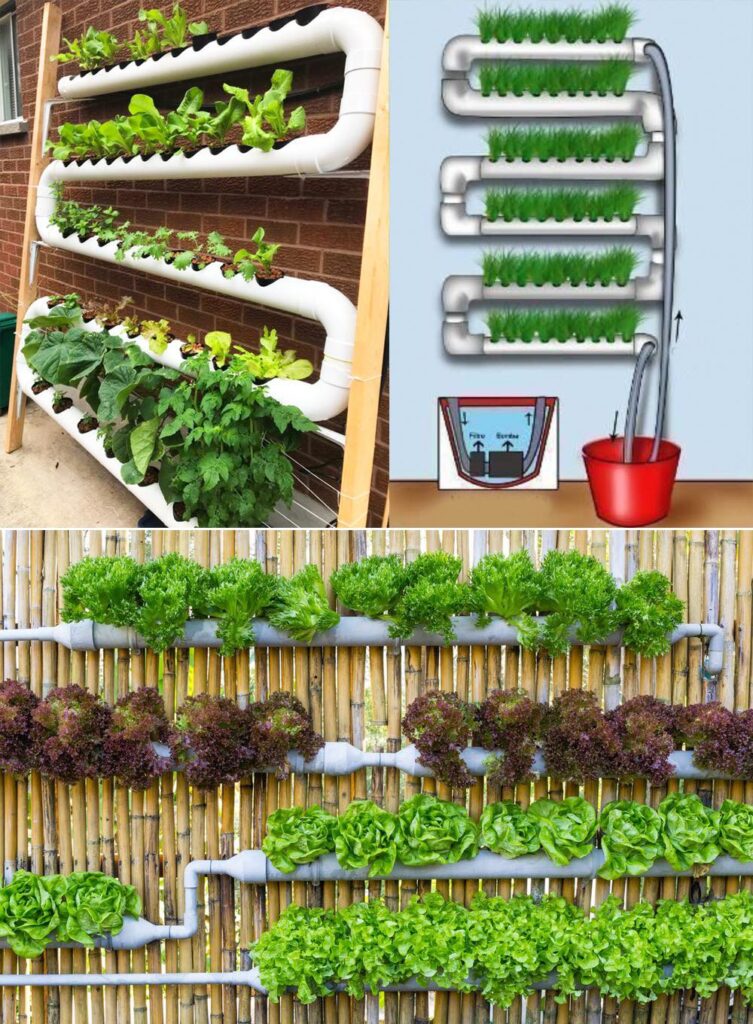
- Nutrient Film Technique (NFT): A continuous flow of nutrient solution runs over the roots in a tilted channel.
- Ebb and Flow (Flood and Drain): Periodically floods the grow tray with nutrient solution before draining it back.
- Drip System: Nutrient solution is dripped directly onto the base of each plant using a timer.
- Aeroponics: Roots hang in the air and are misted with nutrient-rich water, offering excellent oxygen exposure.
How to Build a Basic Deep Water Culture (DWC) Hydroponic System
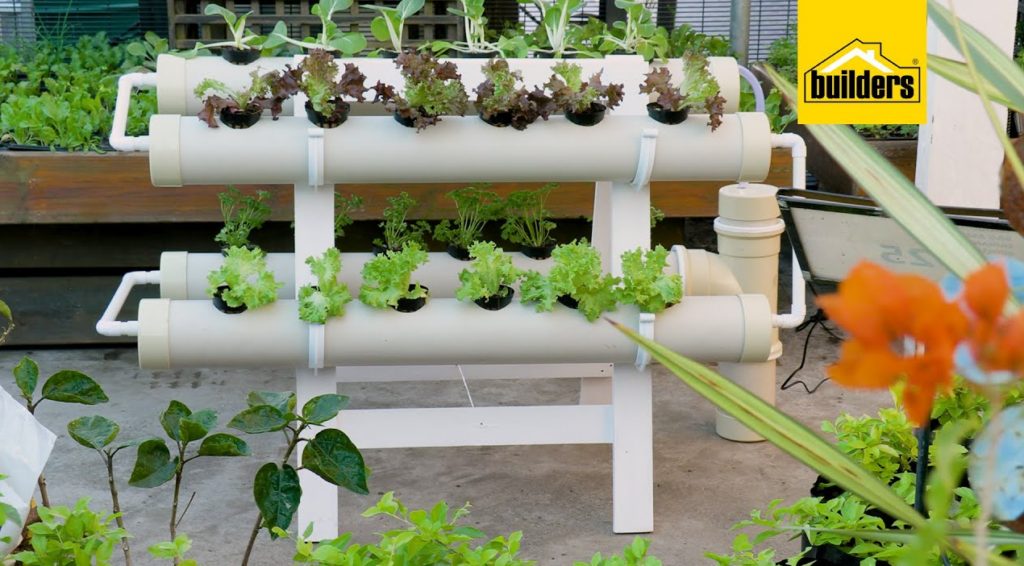
Materials You’ll Need:
- A large container or storage tub for the water reservoir
- An aquarium air pump and air stone for oxygenation
- Hydroponic nutrients to feed your plants
- A pH control kit to maintain ideal water conditions
- Net pots or plastic cups to hold the plants
- A growing medium like hydroton or rock wool
- Seeds or seedlings of your choice
- A lid or cover for the reservoir
Step-by-Step Instructions:
-
- Set Up the Reservoir:
Fill the container with water, leaving about an inch from the top. This will serve as your nutrient solution reservoir. - Add Air Supply:
Attach the air stone to the aquarium pump and place it in the reservoir. The air stone will oxygenate the water, ensuring roots have ample access to oxygen. - Prepare the Lid:
Cut holes in the container lid large enough for the net pots to fit snugly. The plants’ roots should partially touch the nutrient solution. - Plant Your Crops:
Place your seeds or seedlings into the growing medium inside the net pots. Ensure they are secure but not tightly packed. - Mix the Nutrients:
Follow the instructions on your hydroponic nutrient package to prepare the solution. Adjust the pH to a range of 5.5 to 6.5, ideal for most plants. - Assemble the System:
Insert the net pots into the lid and place the lid on the reservoir. Ensure the air pump is running to circulate oxygen. - Monitor and Maintain:
Regularly check nutrient levels, pH balance, and water levels. Replenish the solution as needed and monitor plant health daily.
- Set Up the Reservoir:
Tips for Success
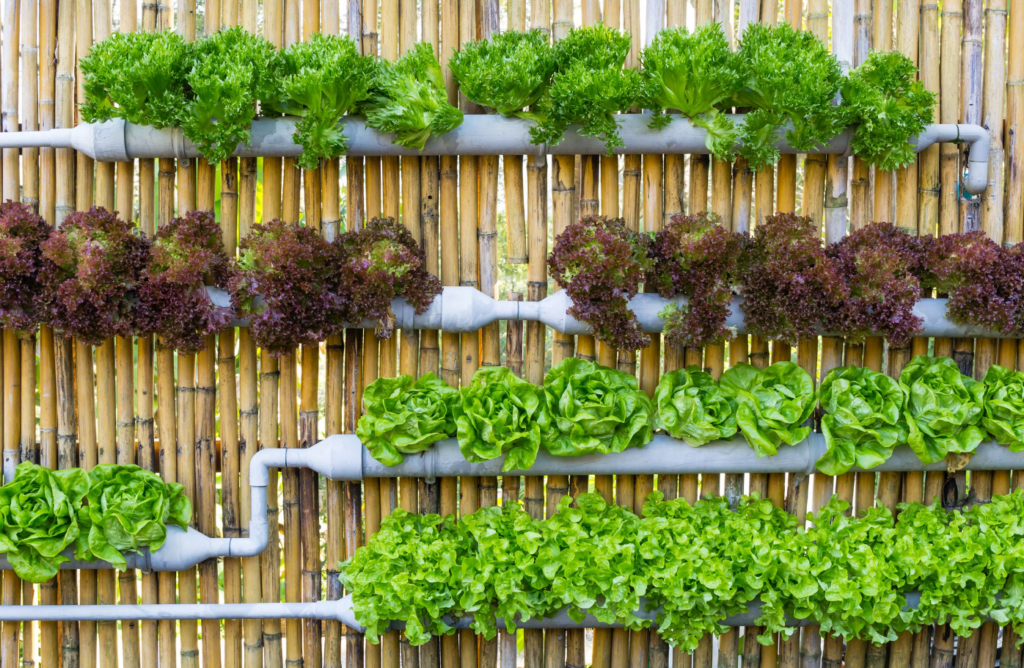
Lighting: Plants need at least 12-16 hours of light daily. If natural sunlight is limited, invest in LED grow lights for optimal growth.
Temperature Control: Maintain a temperature range of 68°F to 72°F (20°C to 22°C) for the best results.
Hygiene: Keep the system clean to prevent algae growth or contamination. Disinfect components periodically.
Nutrient Adjustments: Tailor nutrient solutions to the specific needs of the plants you’re growing.
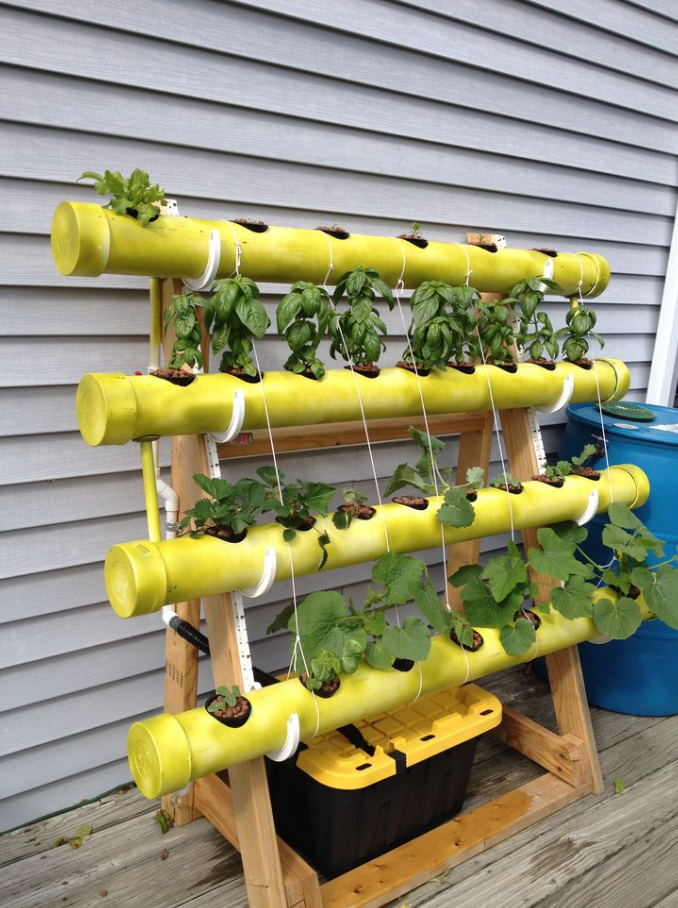
Hydroponics is a game-changer for gardening enthusiasts, combining science, sustainability, and practicality. With a little effort and dedication, you’ll be enjoying your own homegrown vegetables in no time. So, why wait? Build your hydroponic system today and take a step toward a greener, healthier future.
